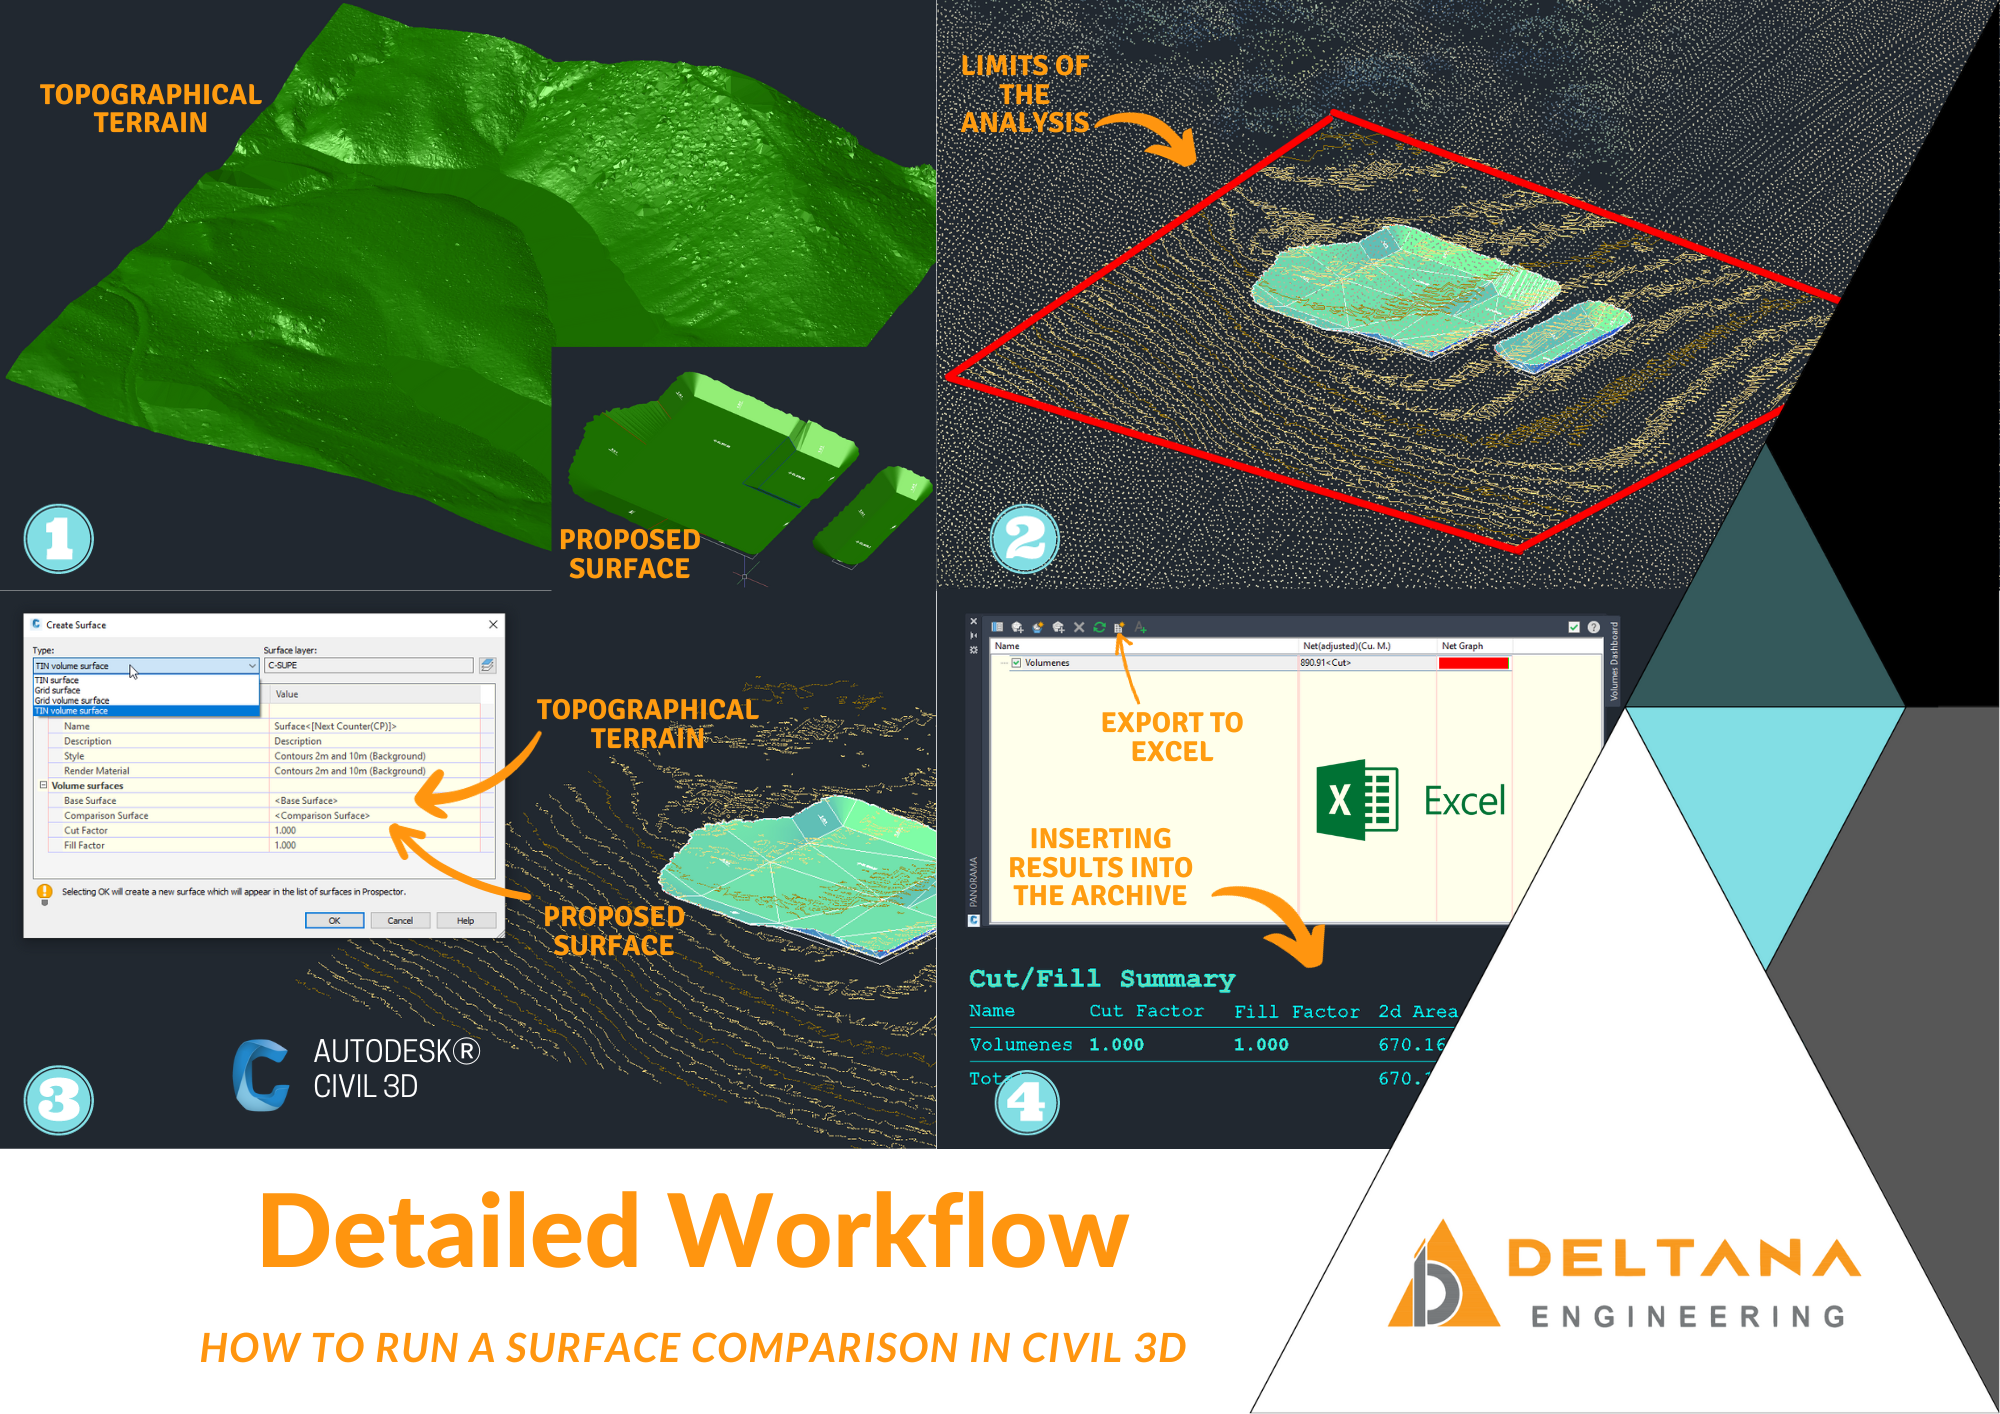
Comparing surfaces is a critical aspect of managing construction projects. Want to learn how to do it effectively in Civil 3D? Follow these steps!
Step 1: Create your surfaces
-
Import current and projected survey data into Civil 3D.
-
Create your base and comparison surfaces.
Step 2: Define Analysis Boundaries
-
Set the analysis boundaries for comparison.
-
Decide if you want to see cut or fill changes based on your needs.
Step 3: Run the Comparison
-
Utiliza the Civil 3D tools to compare surfaces.
-
Civil 3D will automatically calculate the cut and fill volumes within the limits you specify.
Step 4: Analyze the Results
-
Review the visual reports generated by Civil 3D.
-
Identify critical areas where volumes are significant and consider how these changes may affect your project.
Done!!! With this basic tutorial, you'll be well on your way to mastering surface comparison in Civil 3D and optimizing your construction projects. Have questions or need more information? Leave your comments below!
#Civil3D #CivilEngineering #SurfaceComparison #Tutorial


